Our oh-so-clever larger poles and tracks!

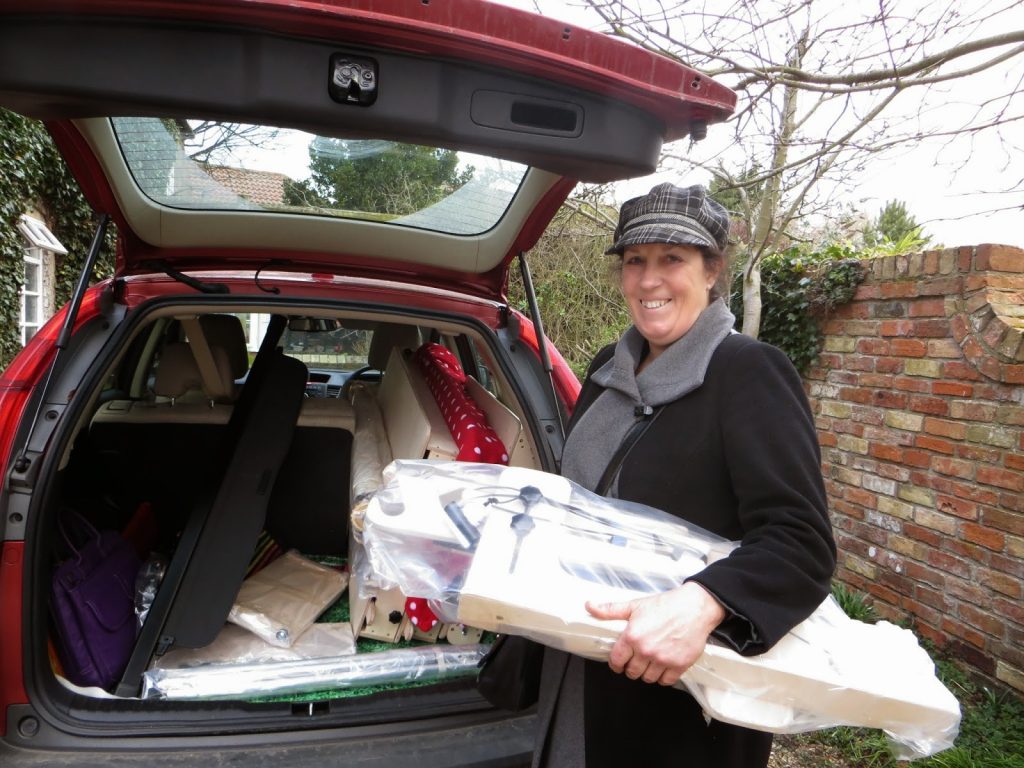
Our Machine Quilter frames come in 6, 8 and 10 foot sizes. While the 6 foot frame comes ready to use, the 8 and 10 foot fabric poles and tracks require some minor putting together. In order to fit in your car, and/or the couriers van, we needed to design the larger poles and tracks so that they could be easily taken apart for transport and then easily re-assembled. We ship the poles and tracks in two pieces so they’ll fit in your car. This post shows you how to put them together again. I promise it will take you less time to put them together than it did to write this post!
 |
 |
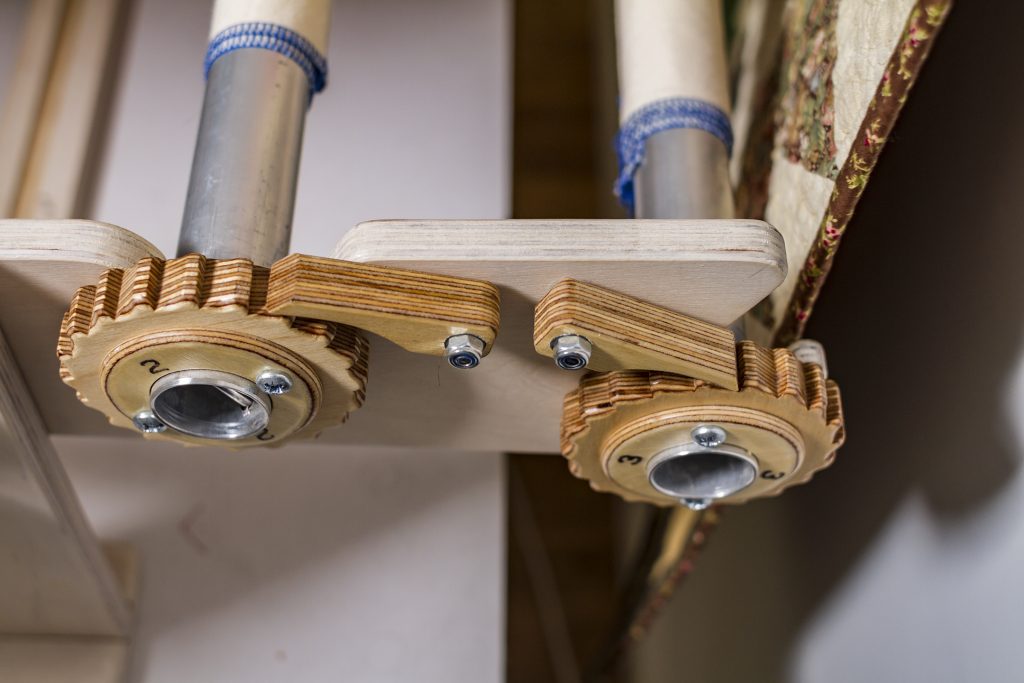 |
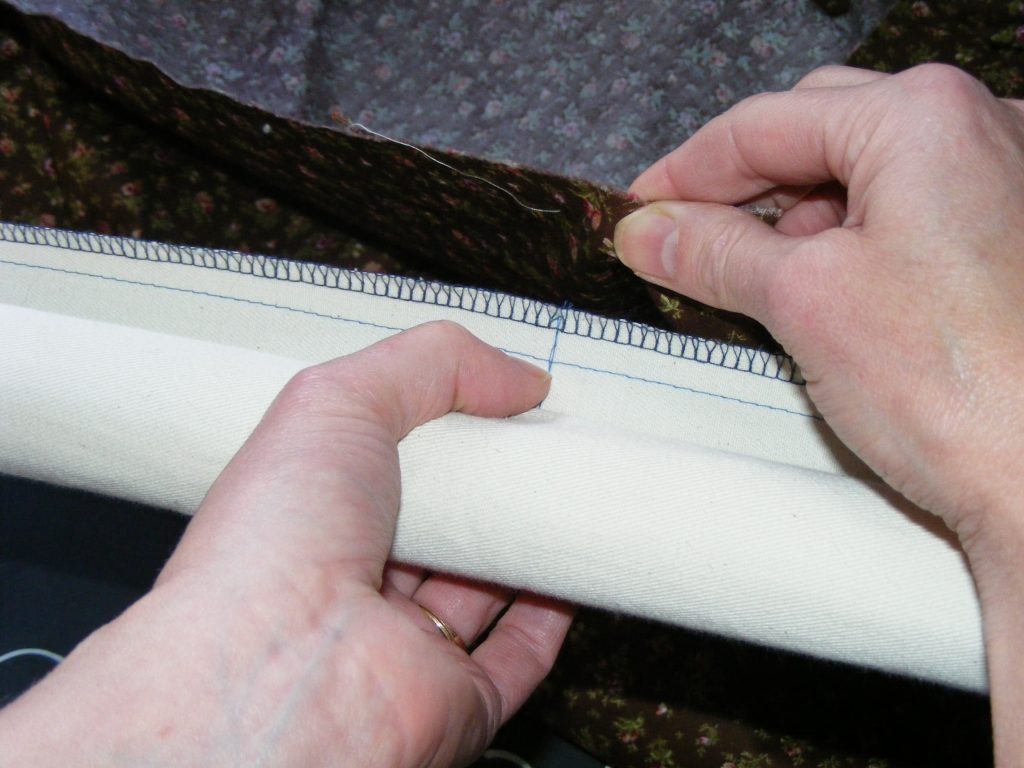
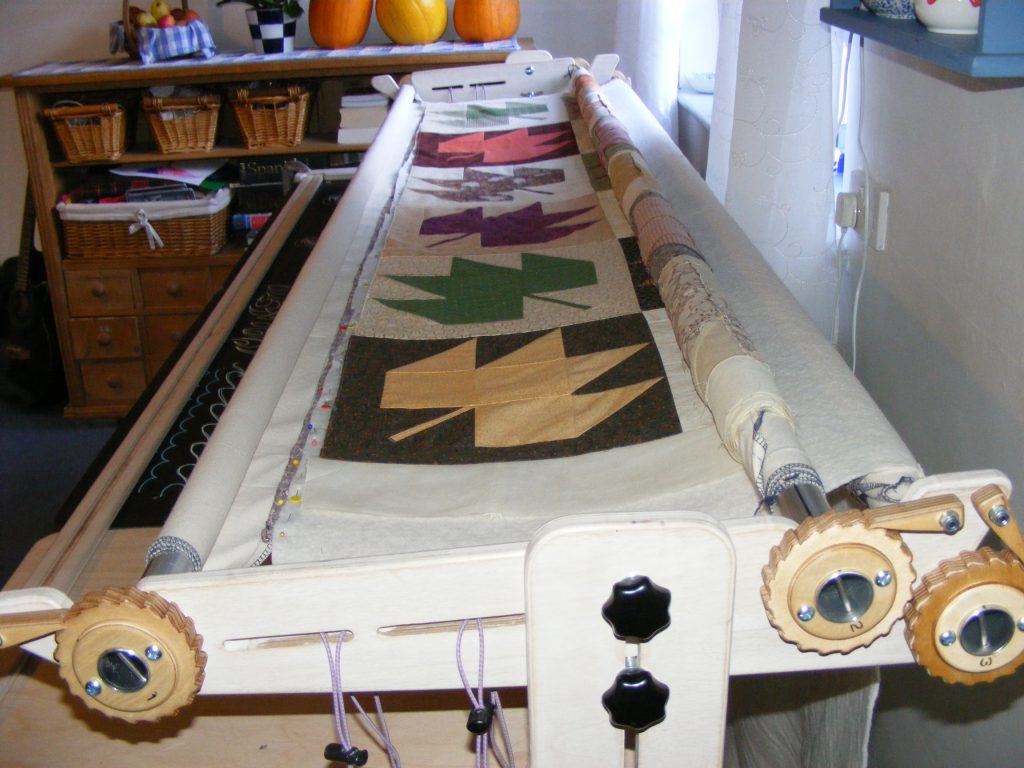
We’ll tackle the fabric poles first. The fabric poles come with a beautifully engineered ratchet ends on the right. The ratchets enable the frame to tension the fabric layers. They also come with leader fabric already attached. The leader fabric holds your quilt layers far enough away from the fabric poles so that you can quilt all the way to the end of your quilt. The leaders are overlocked and marked with a blue stitched centre line and a blue stitched line that runs along the edge of the leader. The centre marking helps you match the centre of your quilt to the centre of your leader. The line of stitching helps you to align your quilt layers while you’re pinning them on the leaders.
 |
 |
 |
The leaders are made from a strong painters canvas that will hold it’s shape and they are riveted to the fabric poles, straight and square. This will help you to load your quilt straight and square on the frame. Many other frames require you to find or make your own leaders. We think it’s convenient to have ours come already attached and ready to go.
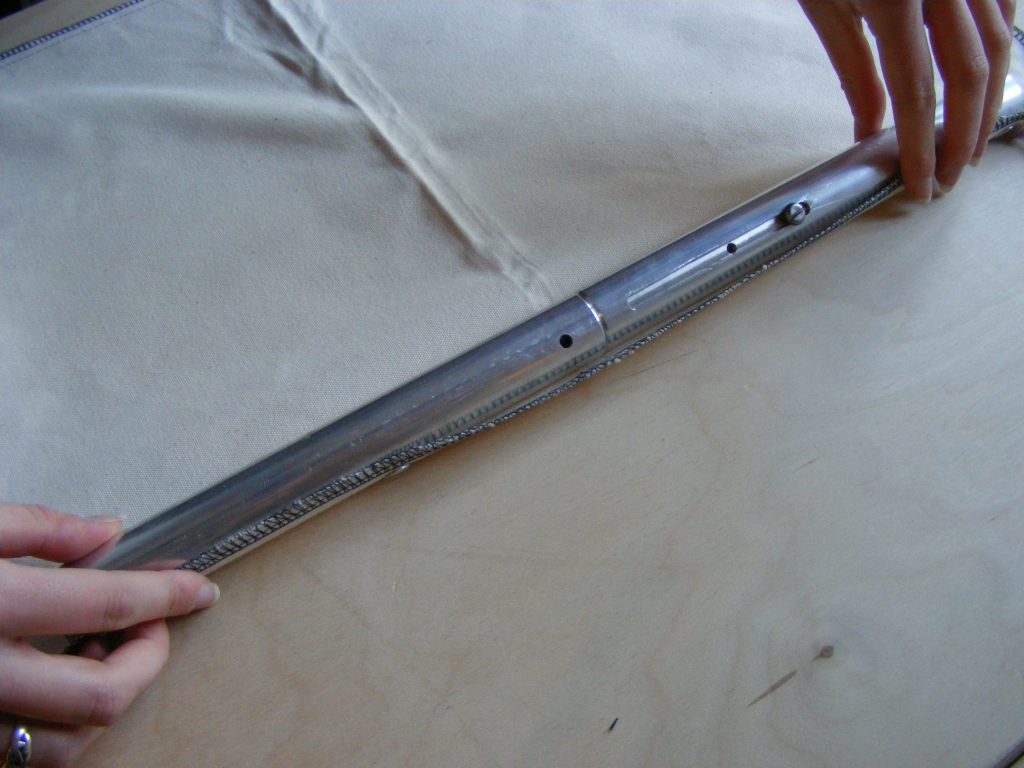
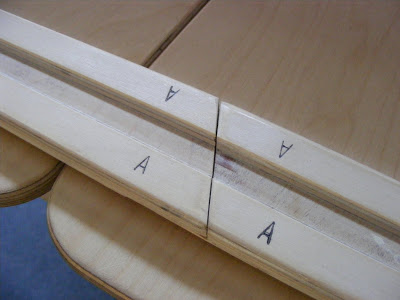
Our challenge with these larger poles was to have the pole come apart and STILL have the leader fabric attached. Here’s how Paul, our genius designer solved the challenge. Below is an abbreviated fabric pole that we use for demonstrations. When you came for your free workshop Martha used this to show you how to extend the fabric poles for the larger quilt frames. These fabric poles have been cut short for demonstration purposes, so you’ll need to imagine the ends extending out to 4 or 5 feet.

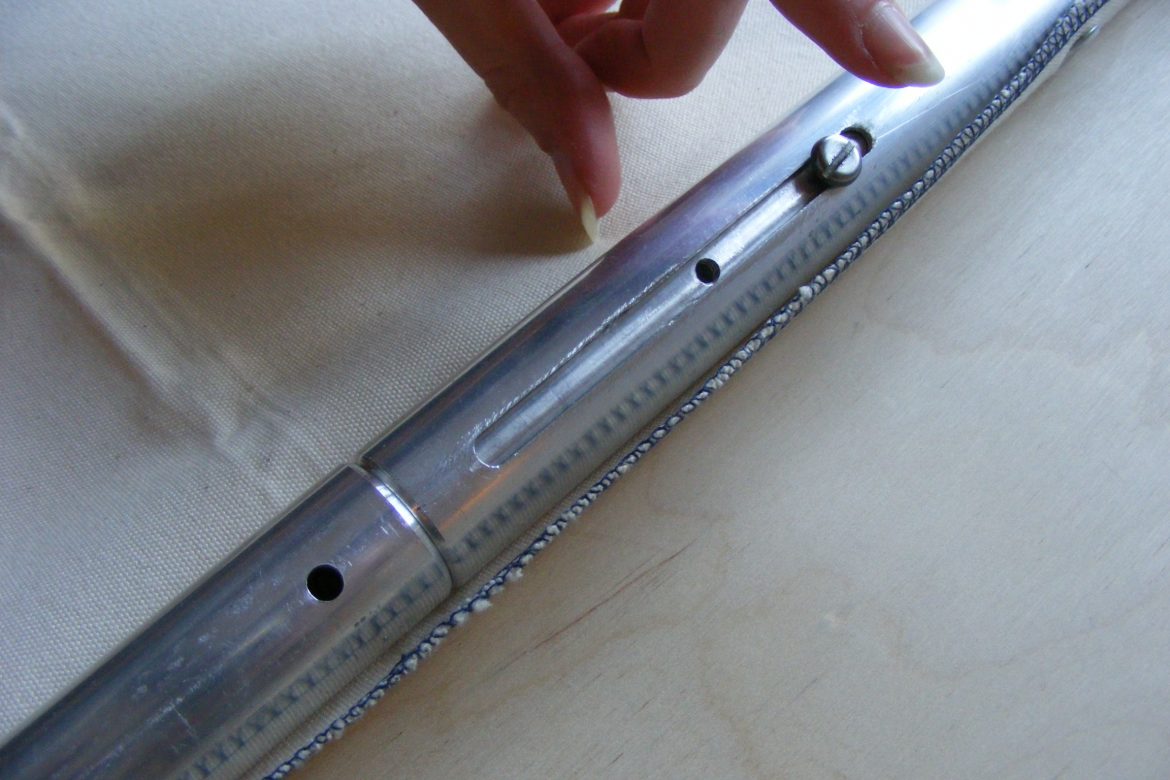
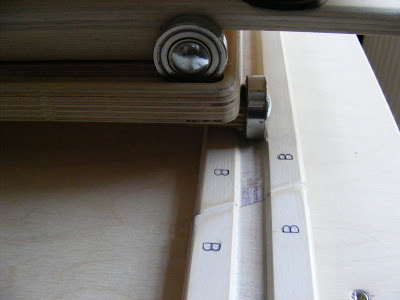
Here you can see the two pieces of the fabric pole split apart and laying side by side. Notice that the leader fabric IS attached to both poles everywhere but the area of the middle join. Look closely and you’ll see a long thin cut out in the pole. This cut out has a screw that lets you move an inside bar back and forth.
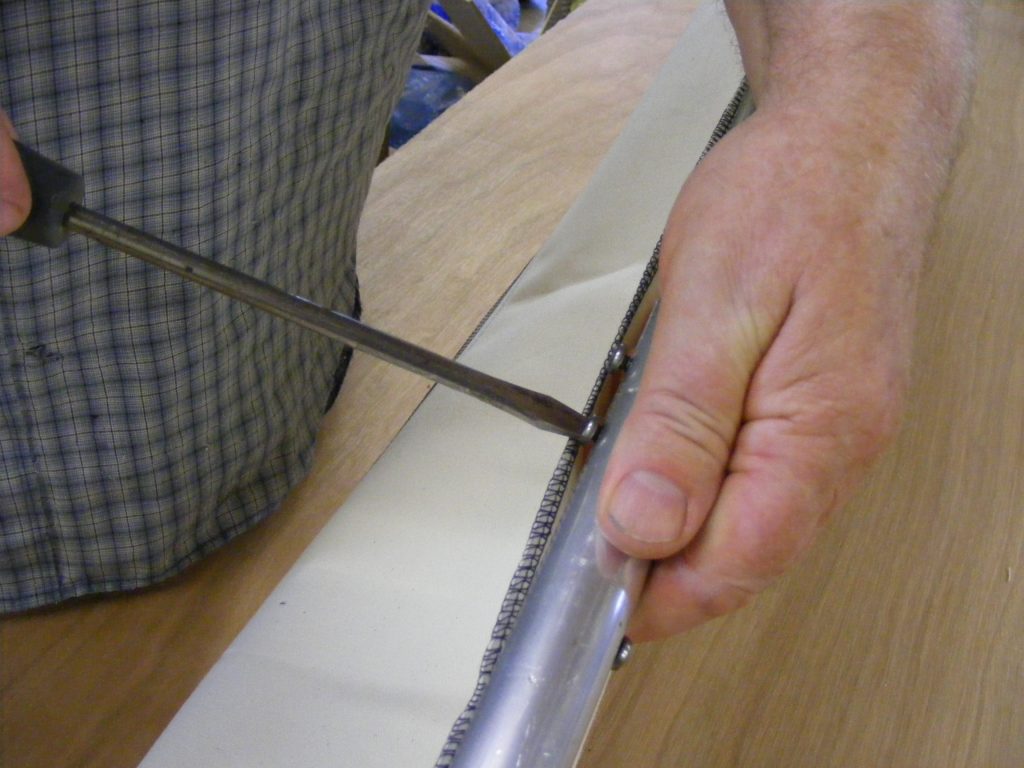
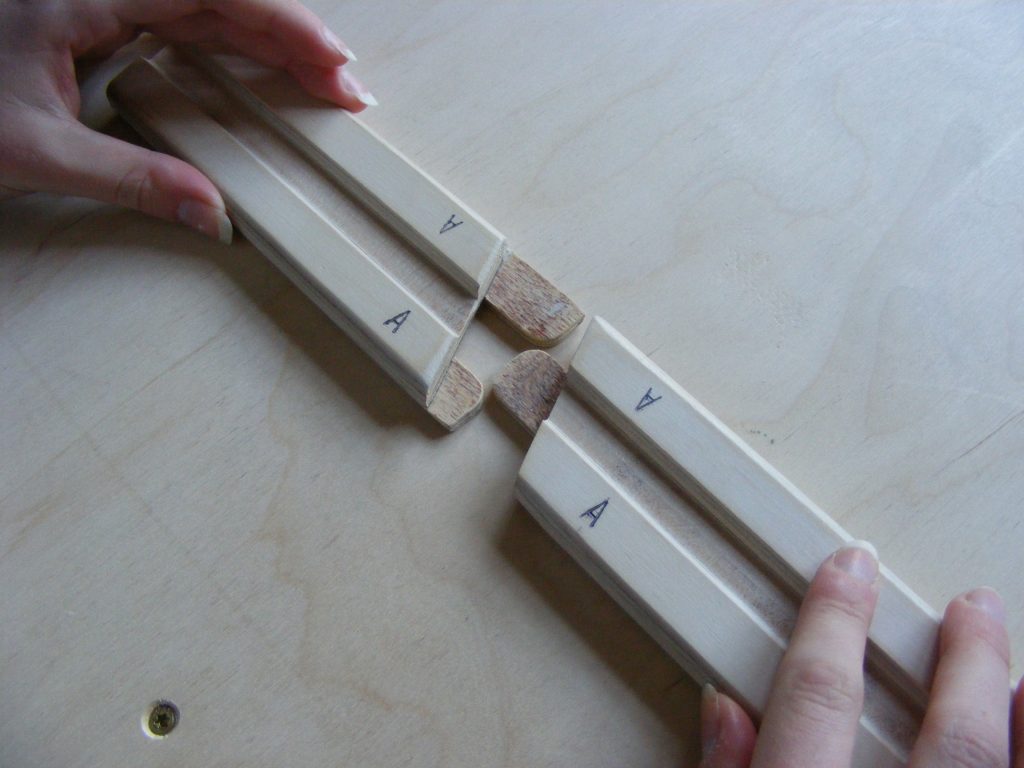
Here in the next photo, I’ve butted the two ends of the pole together and I’m about to slide the screw which moves an inside connecting bar to join the two poles. This bridges the join on the inside of the poles and holds them together nice and snugly.
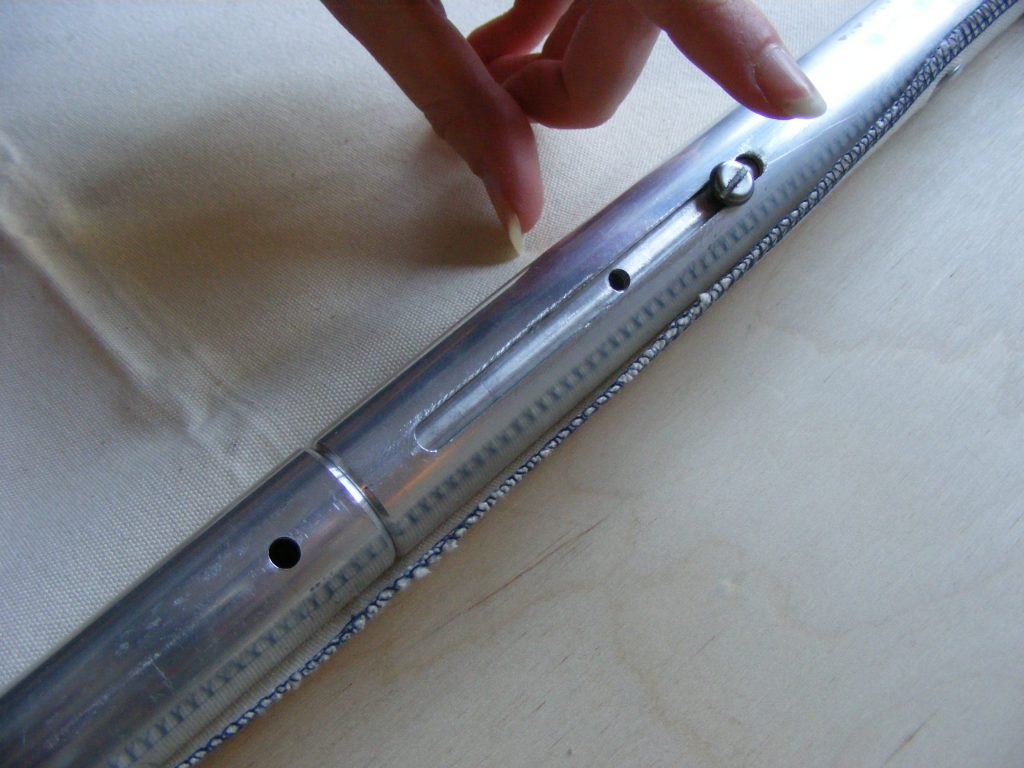
Here’s a nice close up showing the screw that will slide the inside bar across the join.
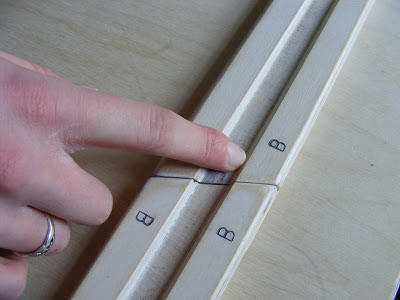
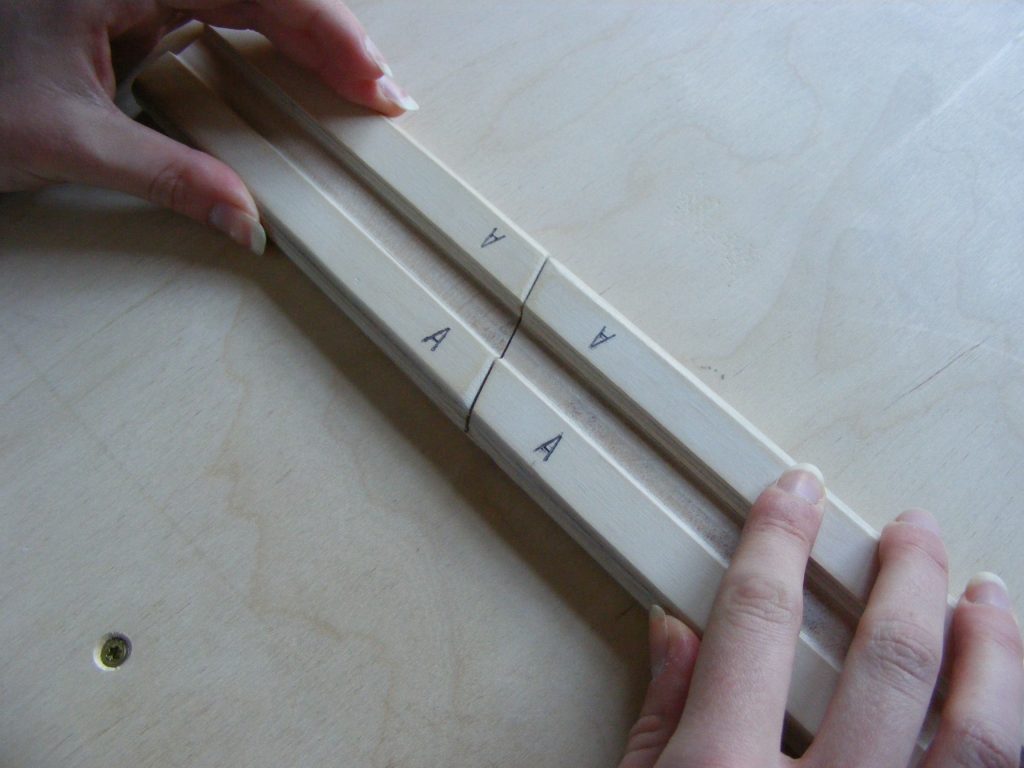
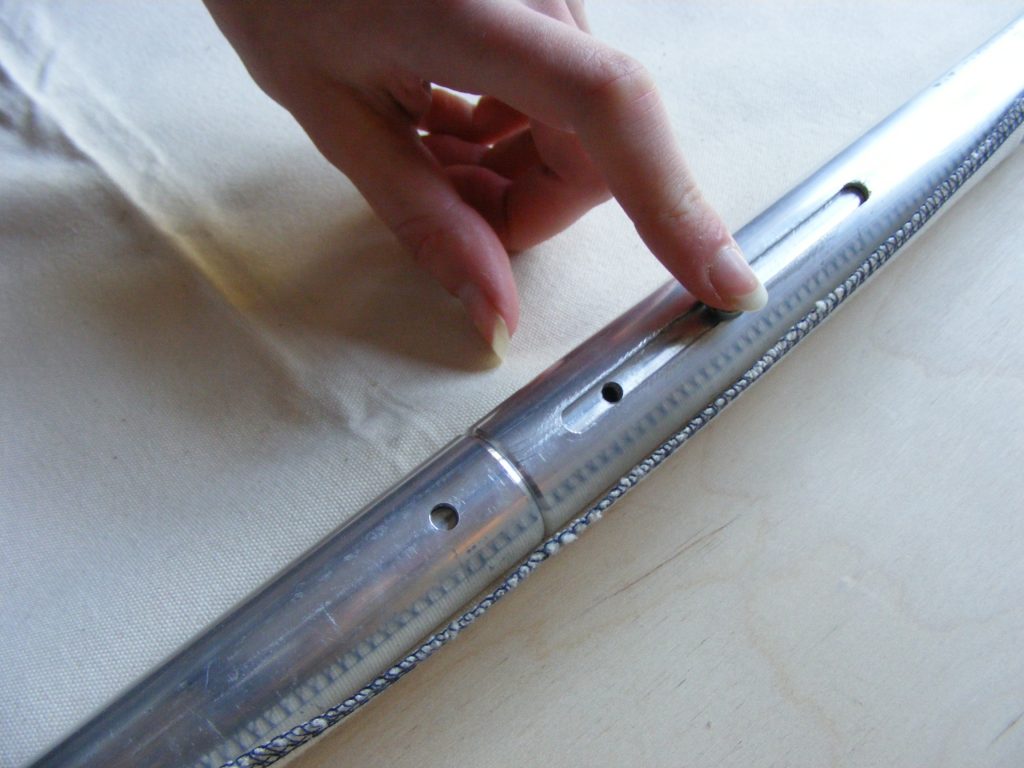 And here it is sliding across. You can now see the inside bar peeking through the screw hole on the left. Once they’re together, you can hold them in place with the 3 screws provided. All you need is a screw driver.
 |
 |
This was a long explanation of a very simple process that just takes a few seconds.
|
|
|
|
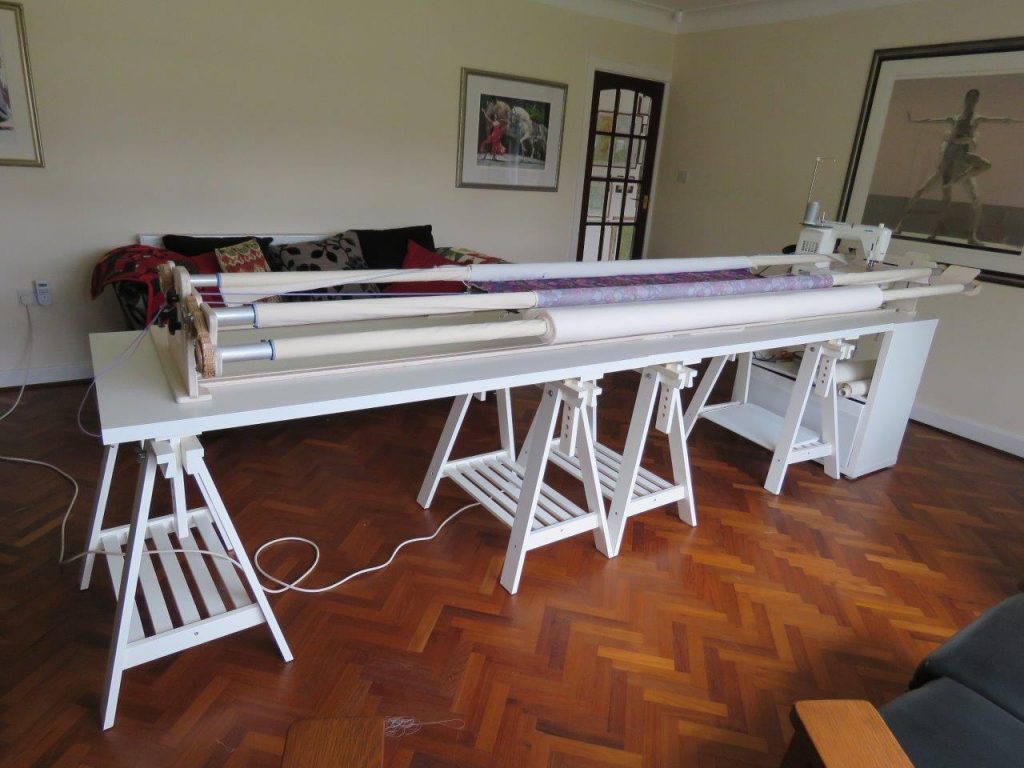
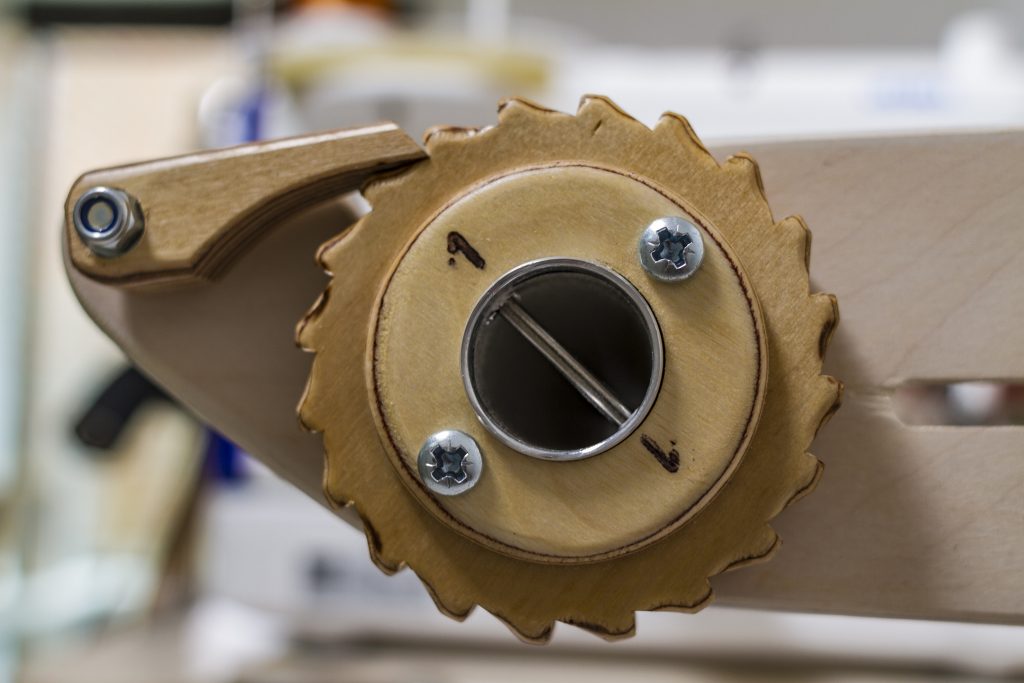
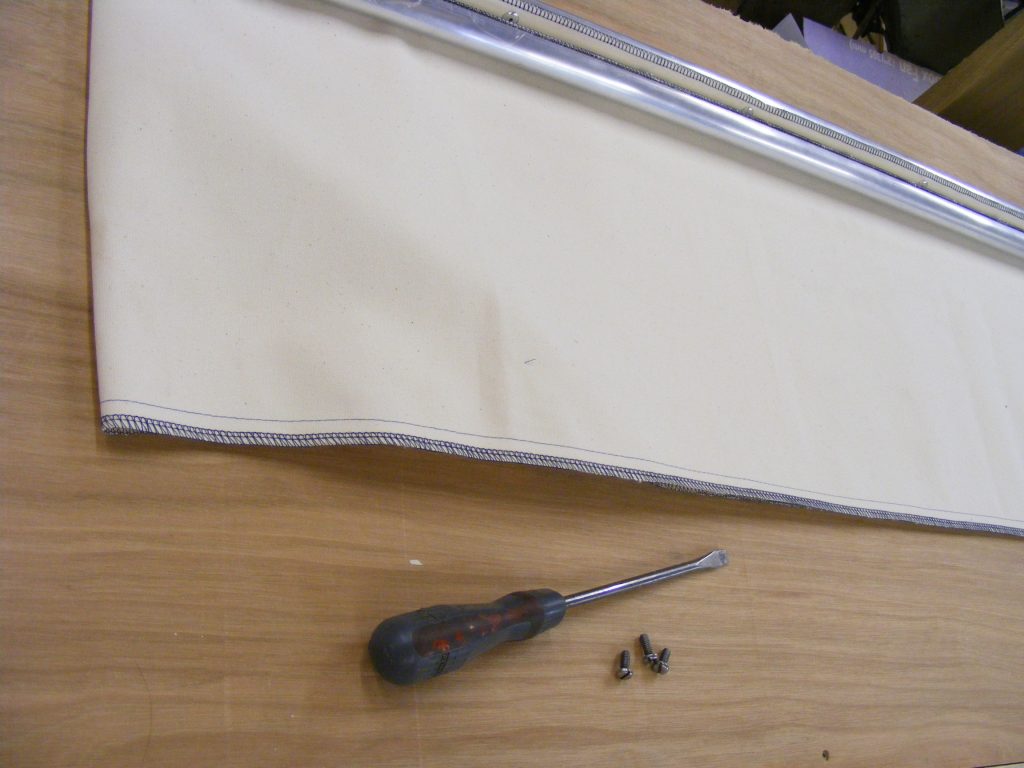
Now the two parts of the fabric pole are attached and you can drop it into your frame. The ratchets are numbered 1, 2 & 3. Pole number one goes in the slot closest to you, it’s the pole that will go under the arm of your sewing machine. Pole number two slots into the middle and pole number three fits into the side arm slots that are farthest away from you as you stand in front of the frame. That should be the fabric poles sorted. Please don’t hesitate to ring Martha with any questions.
Let’s move onto the track.

 |
 |
 |
 |
 |
 |