
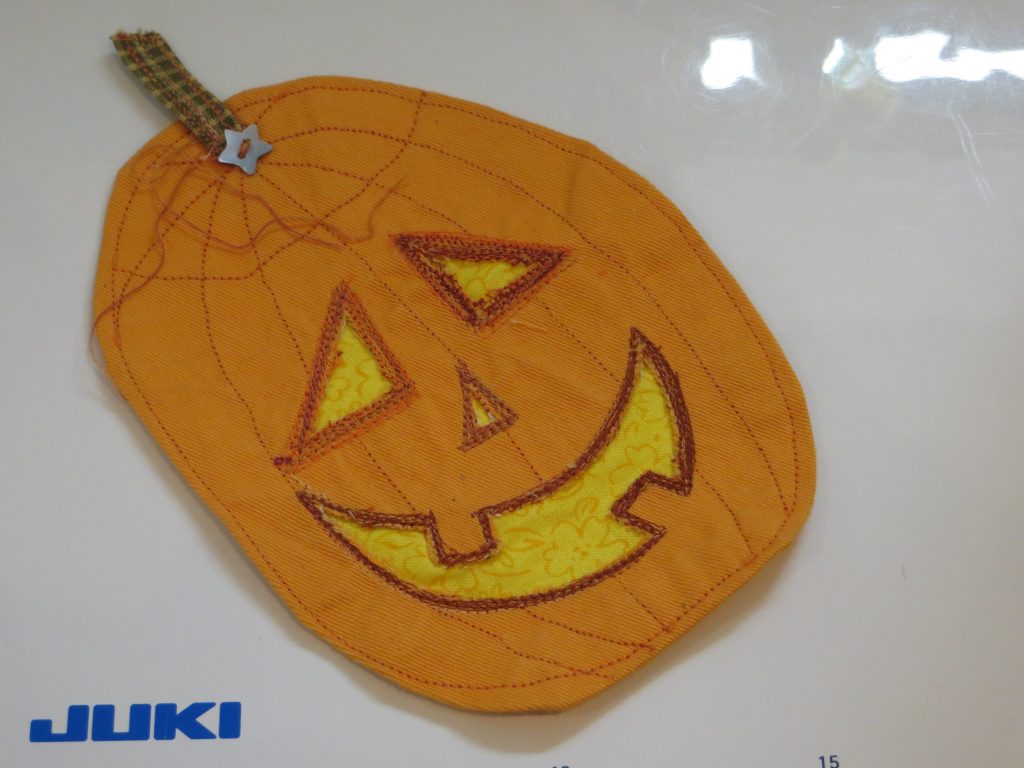
Window Pumpkins Half-term Sewing Project
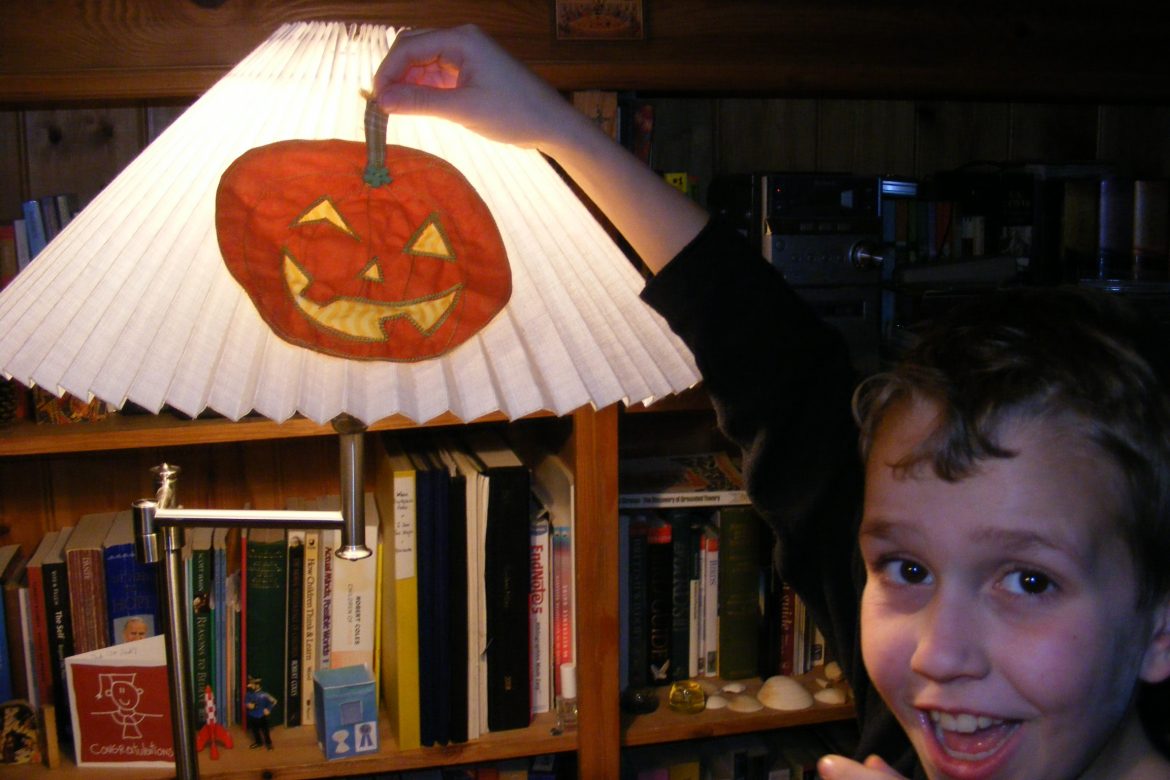
Get the kids sewing with this Window Pumpkin project. It’s half-term and this pumpkin project is a perfect opportunity to give your kids a go on your sewing machine. We call these window or stained glass pumpkins because we hang them in the window and the sun shining through makes them glow. At night time we can get the same effect by putting them on a lampshade. Here’s a simple tutorial for making the pumpkins together with your kids. The whole project comes together quickly and won’t take more than an hour.
You’ll need:
- some orange and yellow fabrics from your stash.
- some freezer paper or plain paper for drawing and a pen or pencil.
- Some fun thread that shows up against the orange, we used King Tut variegated thread from Superior Threads.
- a sewing machine, we used the Juki Exceed 600
- a good sharp pair of scissors
- a star button and a hand needle for sewing it
 |
First Peter got some paper and drew a pumpkin shape with eyes nose and mouth. Freezer paper works great because you can iron it to the fabric but we were out so today we just used ordinary paper. |
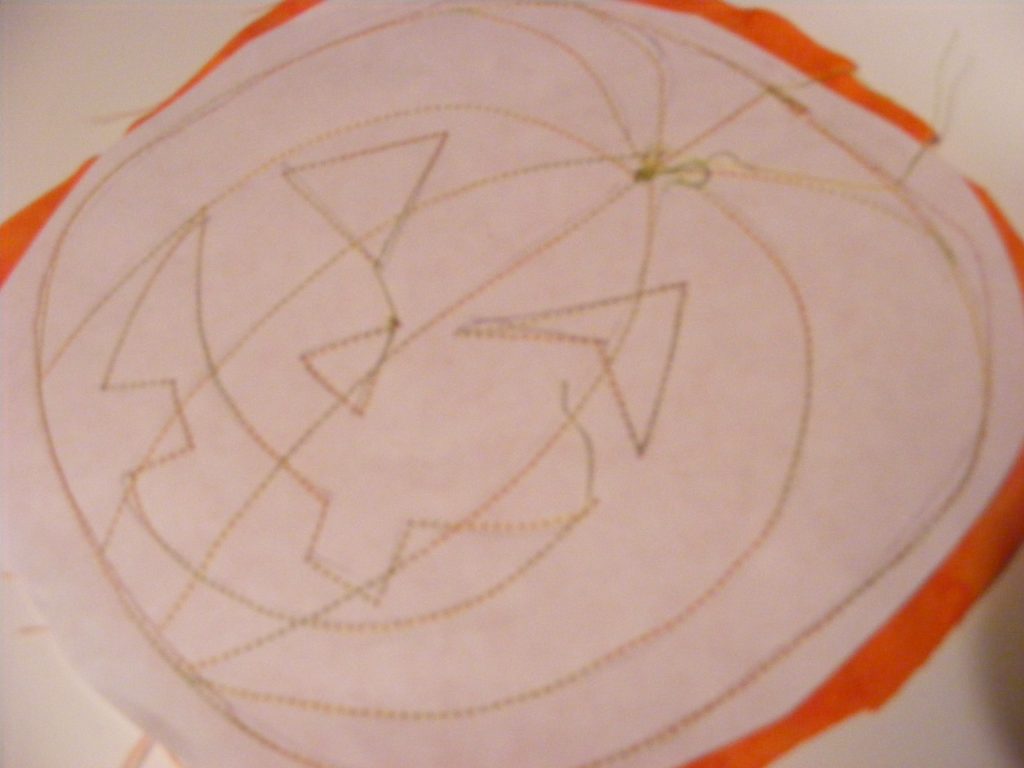 |
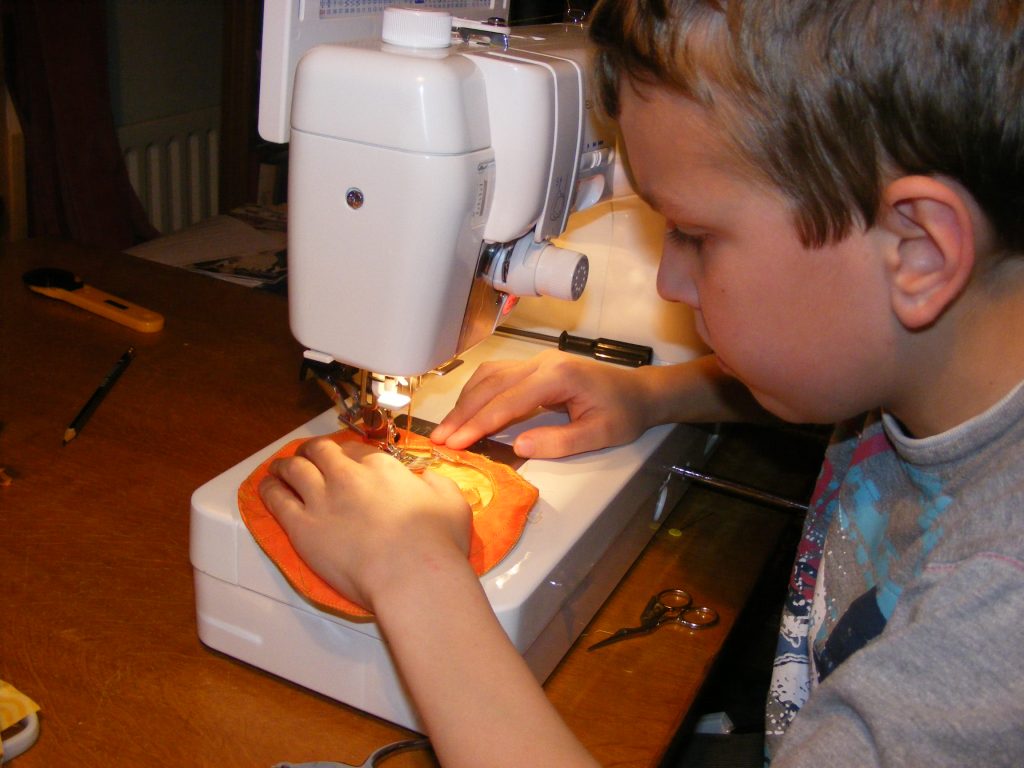
Then we pinned the paper to some pumpkin coloured fabric and sewed around the drawn lines. Peter was too short to reach the foot pedal, so he sat on my lap and I worked the foot pedal while he guided the fabric under the needle. This way he could do it himself but I could keep an eye in him. |
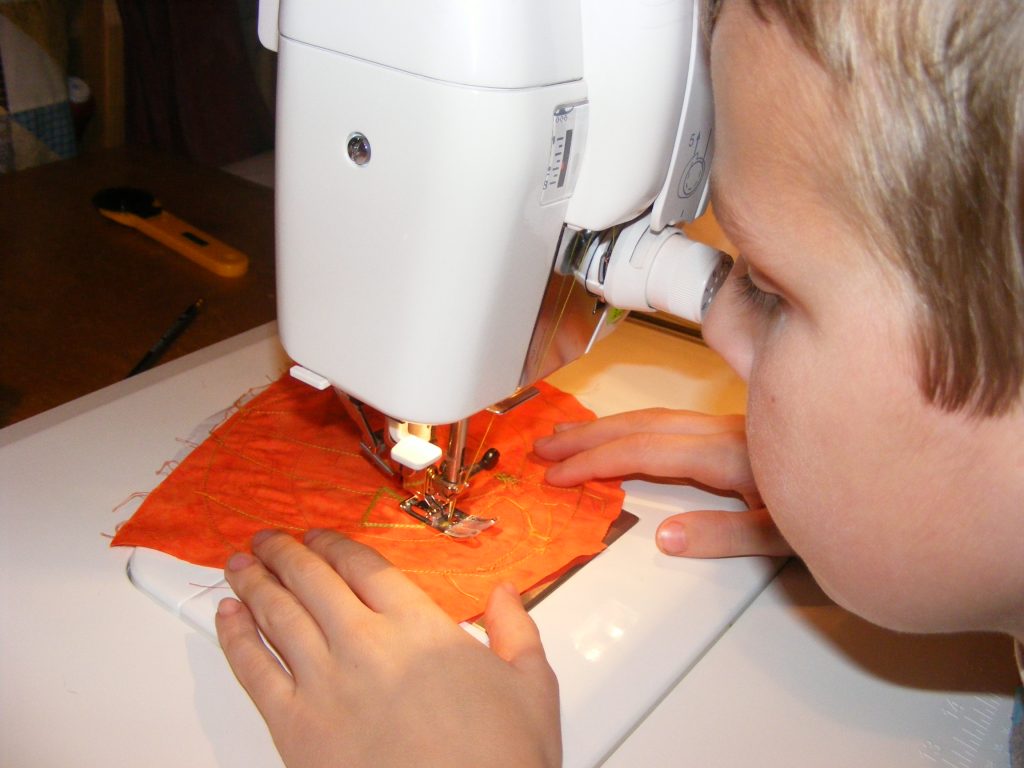 |
Next Peter flipped it over so the fabric side was on top and sewed over all the lines again.
He’s just loving getting to use the Juki Exceed 600 sewing machine! Pete’s using a variegated thread #934 called Nile Delta We’ve tried lots of different colour combinations that looked great. I do like the variegated threads the best! |
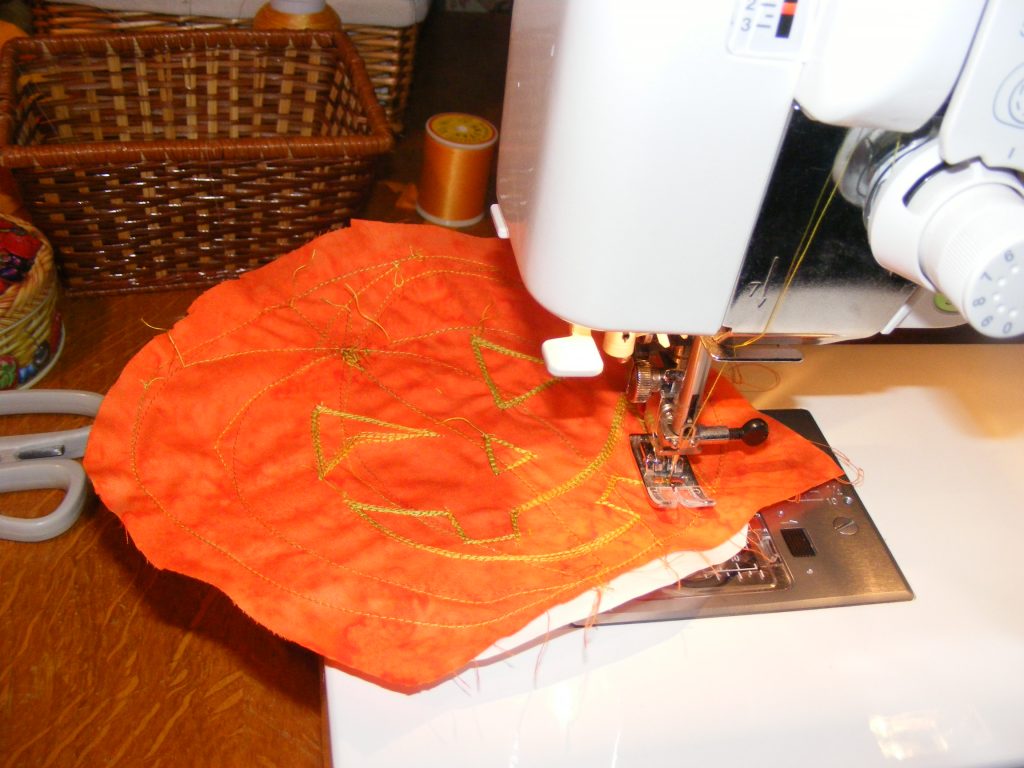 |
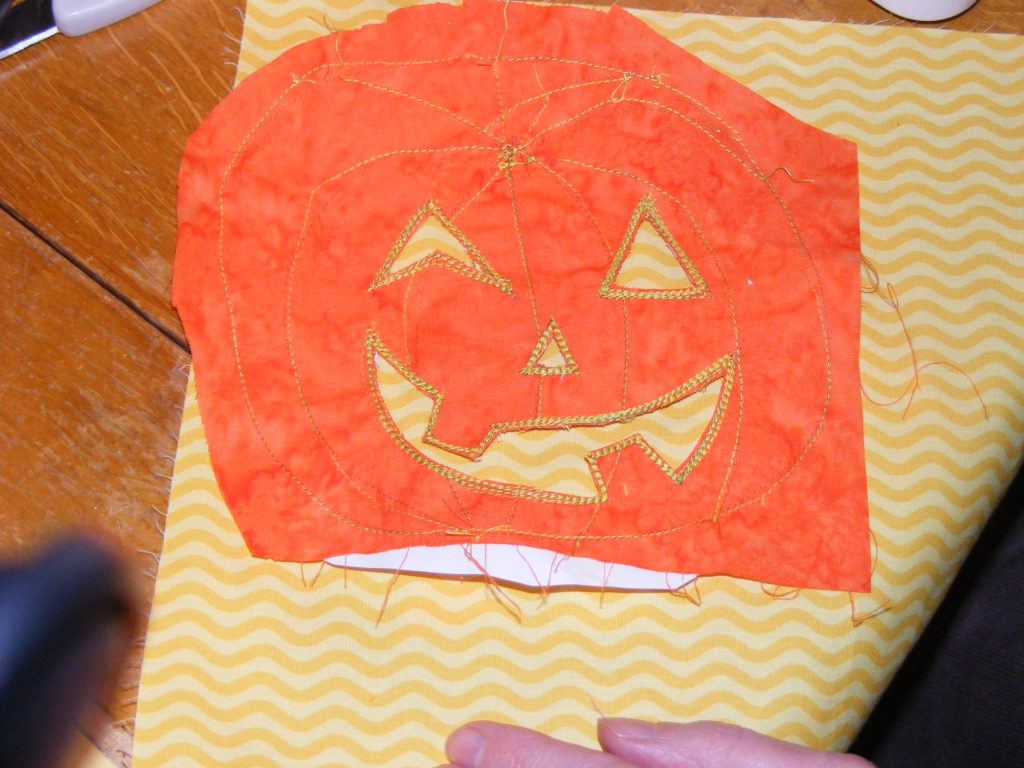
Peter went on to sew around the eyes nose and mouth lots and lots of times. The repetition was fun and it didn’t matter if the outline was exact. It actually looks better for being a wider set of lines. |
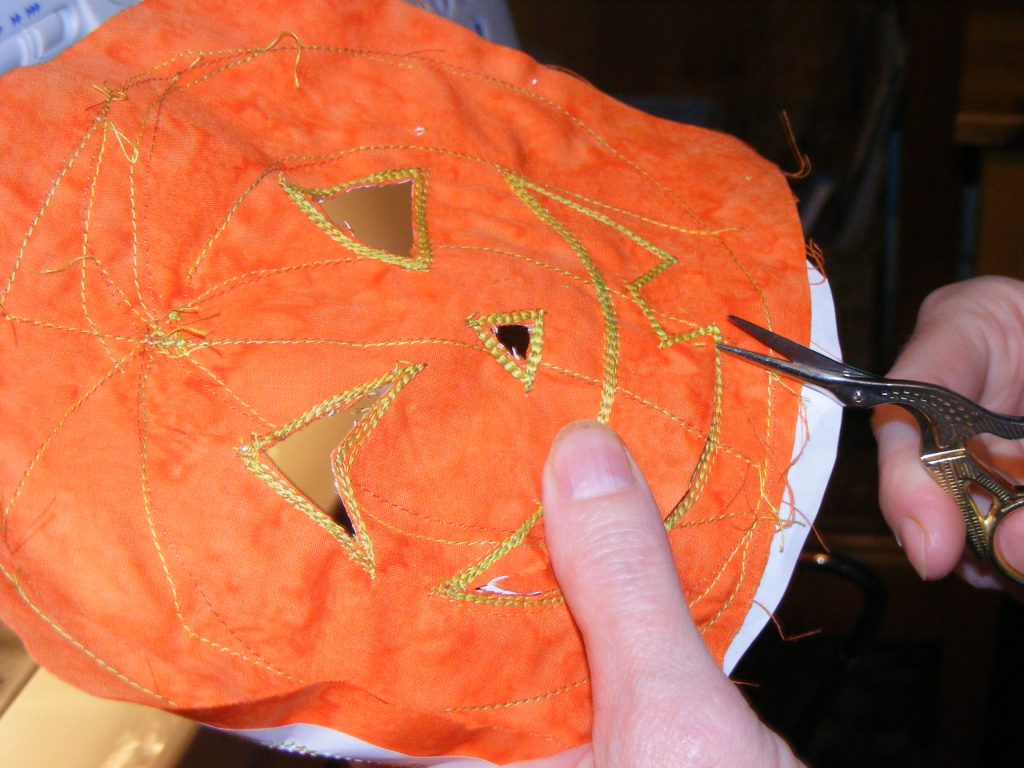 |
I used some sharp pointy scissors and snipped very carefully around the inside of the sewn lines. This was a good ‘mum’ job. |
 |
Peter chose some yellow fabric to ‘shine through’ the holes in the pumpkin. |
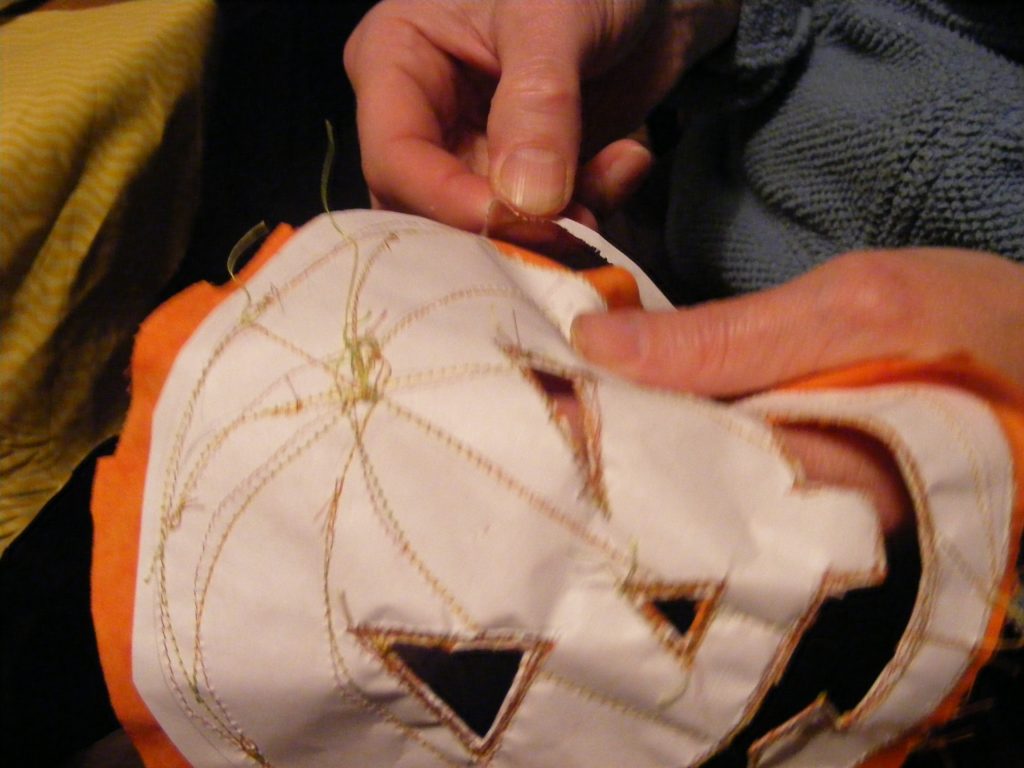 |
We ripped off the paper around the outer edge of the pumpkin. The needle has perforated the paper so it’s easy. The rest of the paper we just left in because it helped the pumpkin to hold its shape. |
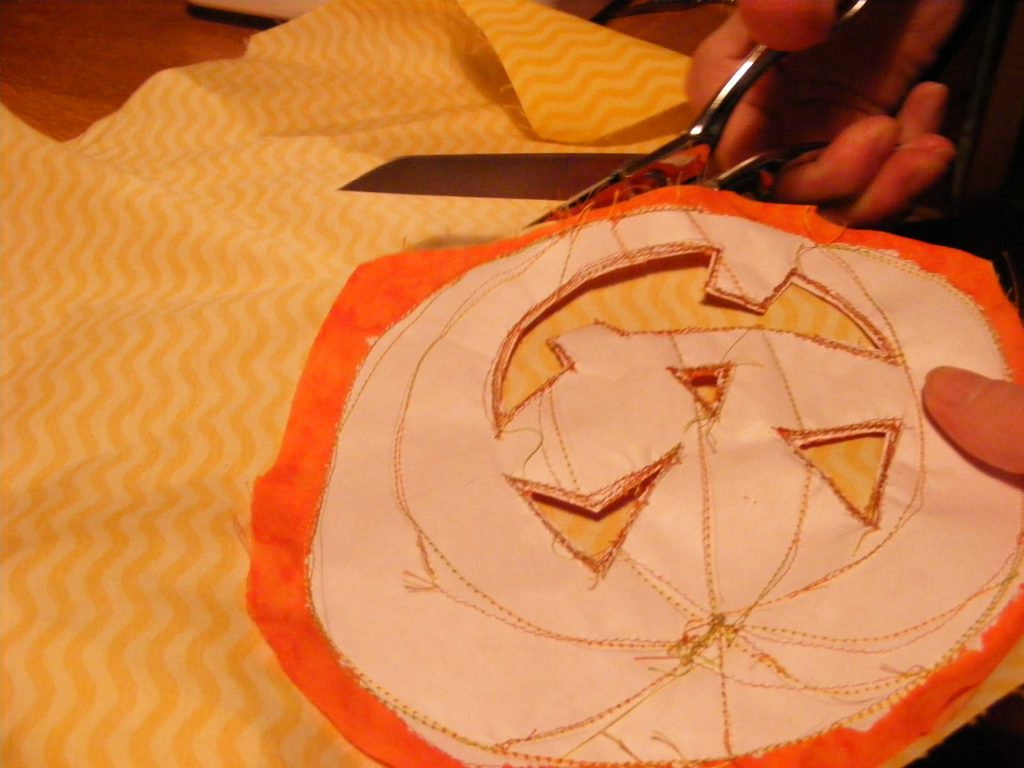 |
Now we put the WRONG side of the yellow fabric against the RIGHT side of the pumpkin. So when we turned it inside out, the right side of the fabric will be shining through the holes. Then we stitched around the outside edge, leaving a few inches un-sewn so we could turn it inside out.
If you don’t mind what the back looks like, you can simply cut enough yellow fabric to cover the eyes, nose and mouth. Stitching around will hold them in place |
 |
 |
 |
Here Peter is adding the finishing touches; sewing around the outside seam and a few more times around the eyes, nose and mouth, to hold it all together. |
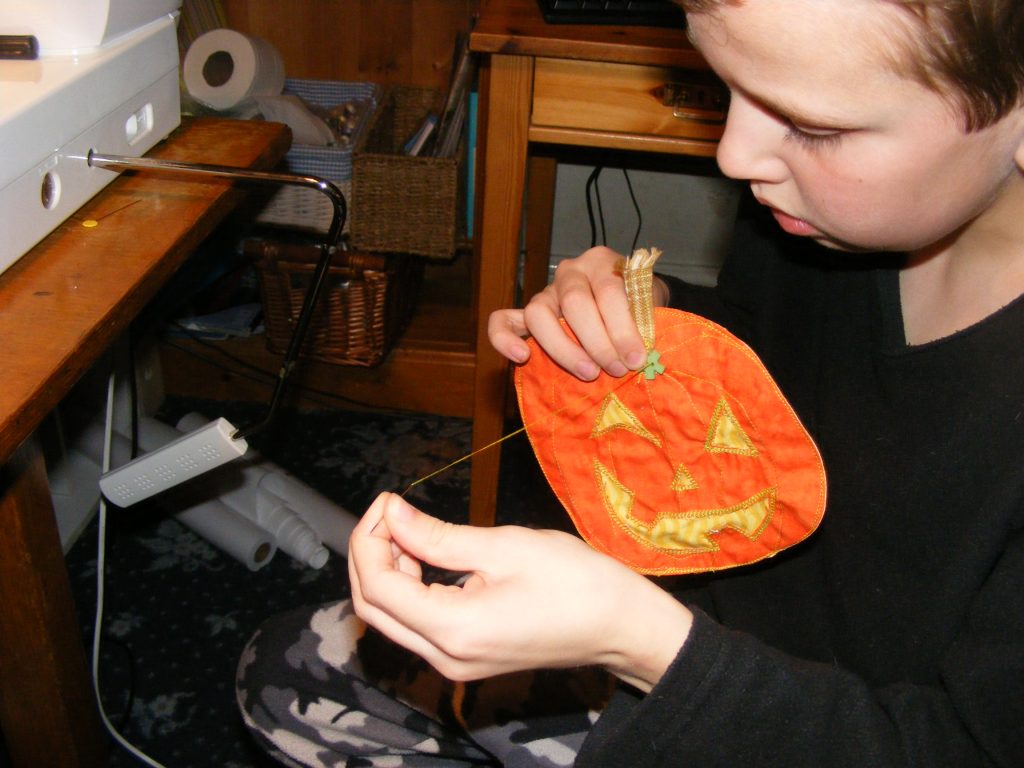 |
Finally he’s added a stem and is hand sewing a button. Star buttons work really well for this.
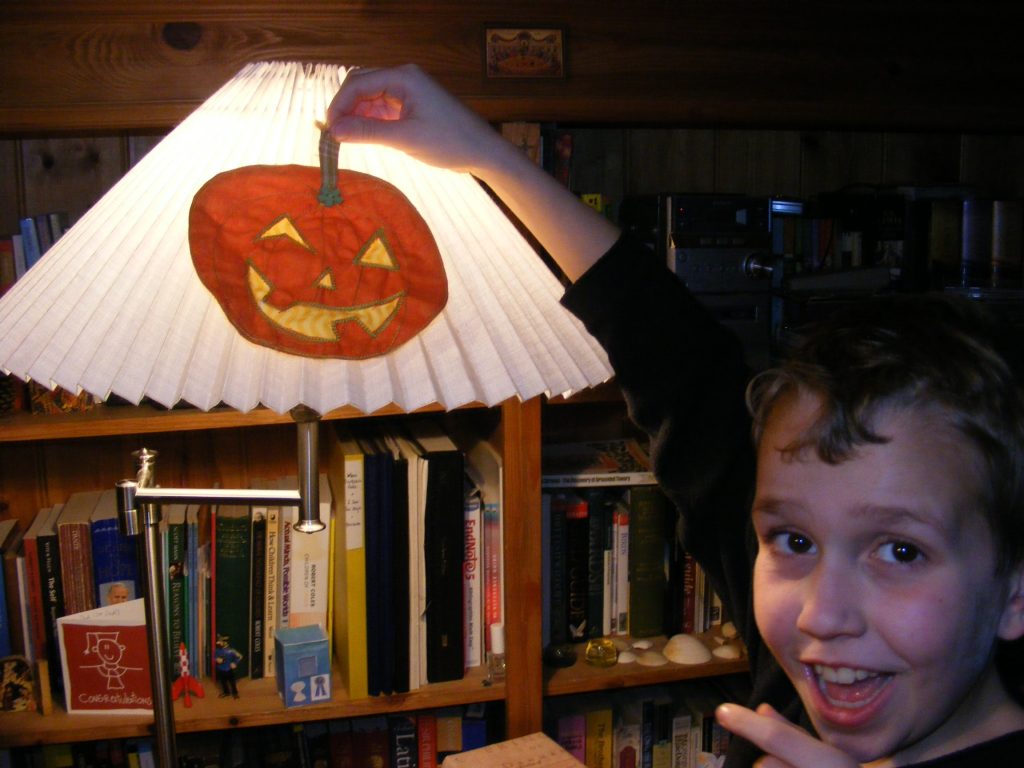
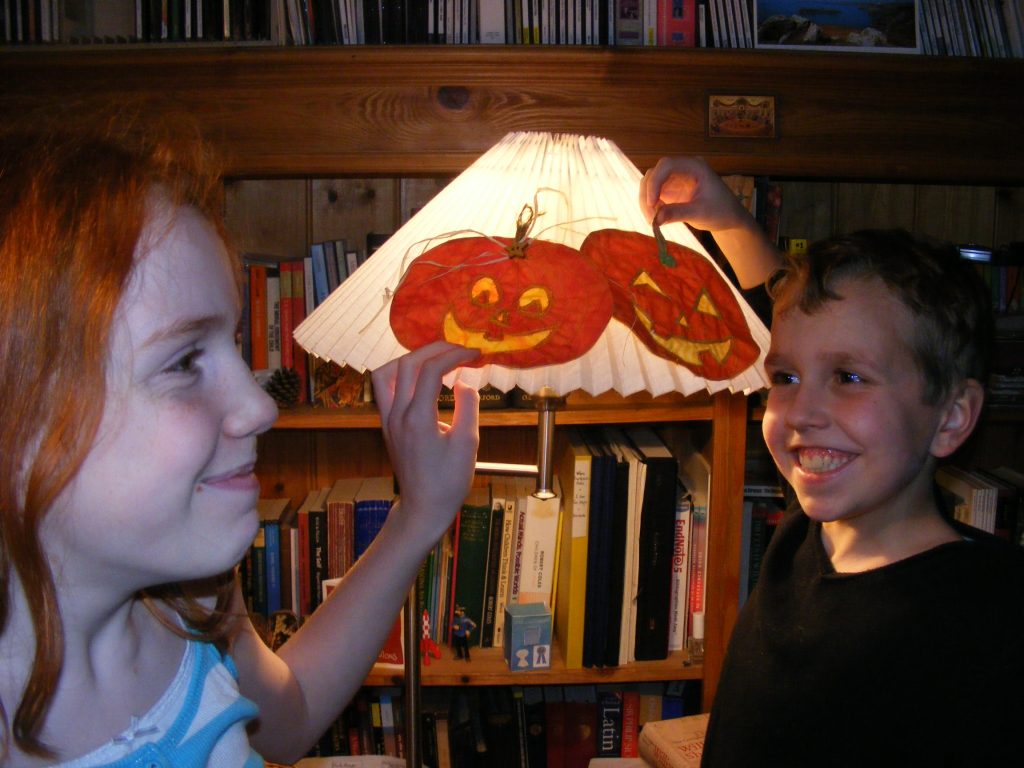
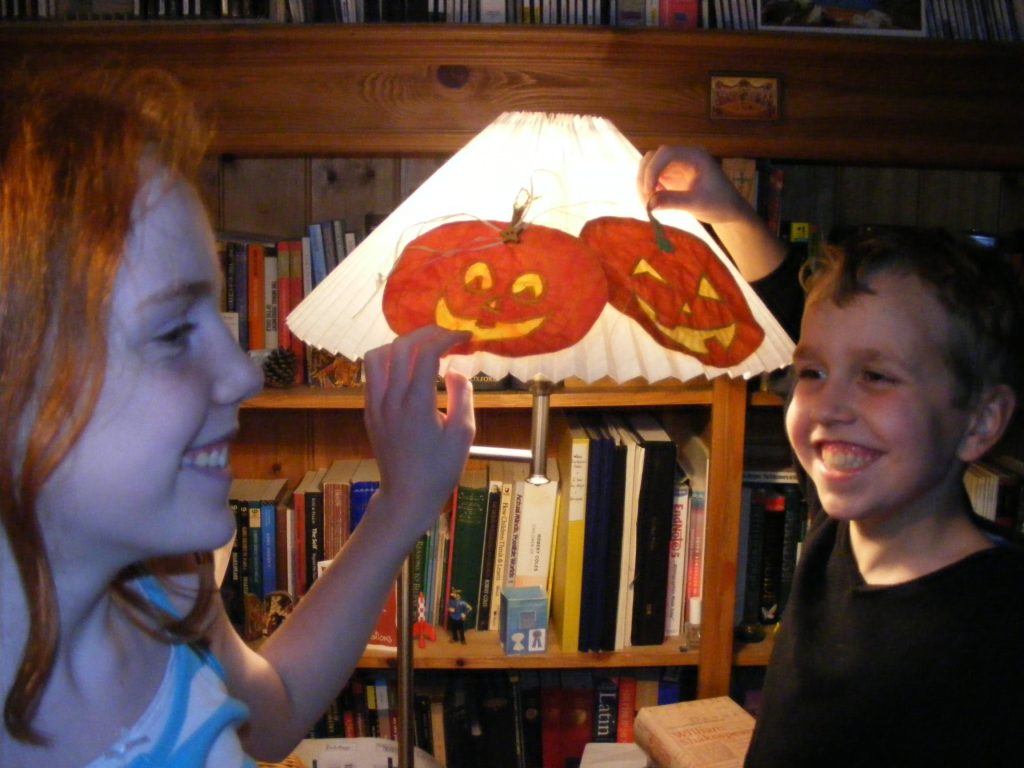
Pete’s big sister, Ellie decided to make one too. It was evening when we finished so we put them on the lamp shade so we could see the light glow through. As you can see Pete and Ellie are very proud of their pumpkins! |
 |
 |
 |
 |